

When I moved to Pennsylvania many years ago I was told that American Mother’s Day – the second Sunday in May – was the time to plant out your summer seedlings. I still keep to that tradition in honor of my mother-in-law, and grandmother-in-law. I make sure that on Mother’s Day I think of the lovely mothers that I have known.
However, Getting those seedlings out of the house safely is hard. The baby seedling was grown in cushy conditions inside and has to go out into the crazy outdoor world. If I were anthropomorphizing my plant babies I would see a parallel with human children.
There are two phases to this plant moving operation. The first phase is hardening the seedlings off so that they can withstand the harsh conditions outside. The second phase is getting them from the pot to a larger container or into the soil.
Phase 1 – Hardening Off Your Seedlings
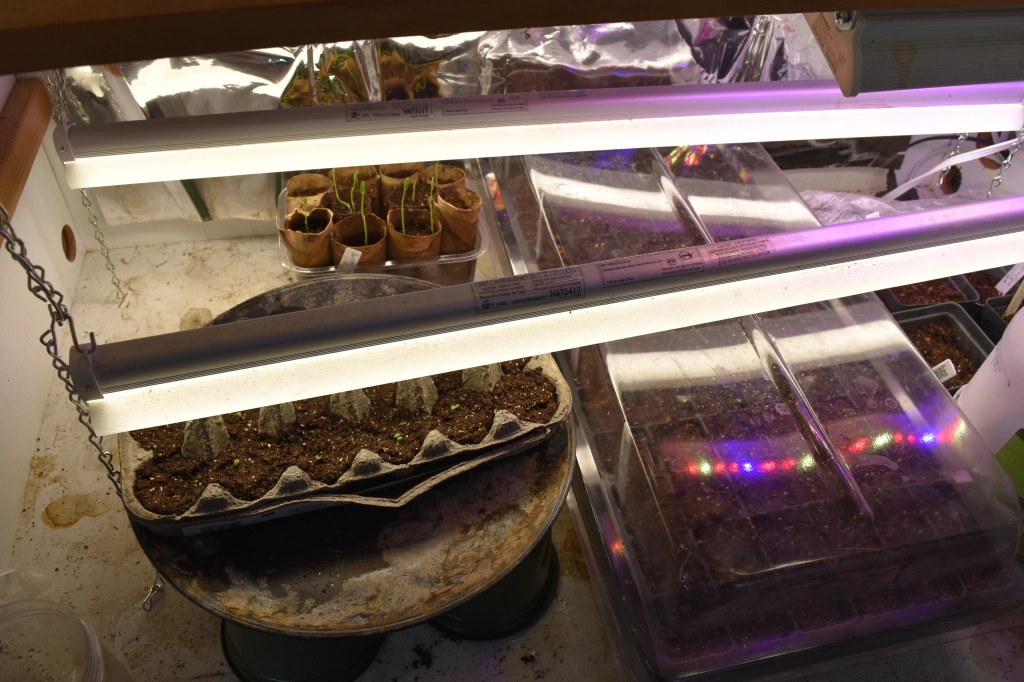
One of the trickiest times for home grown seedlings is getting them outside safely. Whether you grow them on a windowsill or under lights, the conditions inside are pretty tame compared to outside in the garden. The general name for this process is called ‘hardening off’. This means is that for best chance of success you have to gradually acclimatize your plants to the harsh conditions outside.
To harden off seedlings you need to move them outside for part of the day when the temperatures are not too hot or too cold. Check the weather and make sure that your seedlings are not going to be frozen or roasted. Small seedlings can easily dry out. The sun and wind evaporate the water from the small volume of potting soil. Keep the seedlings in a shady spot and check their watering needs in the morning and evening.
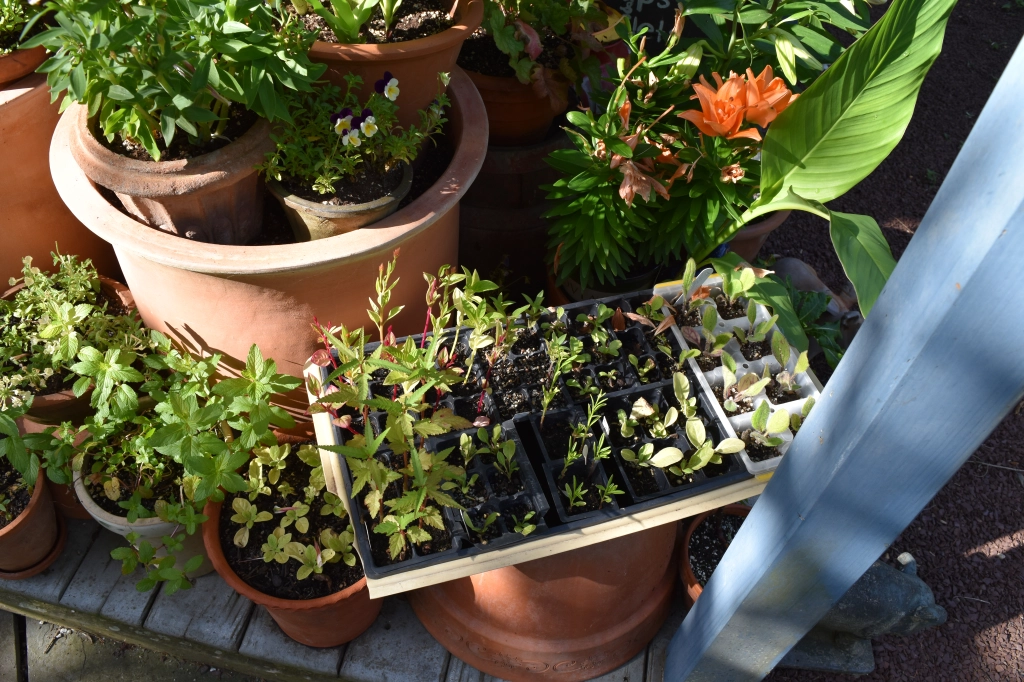
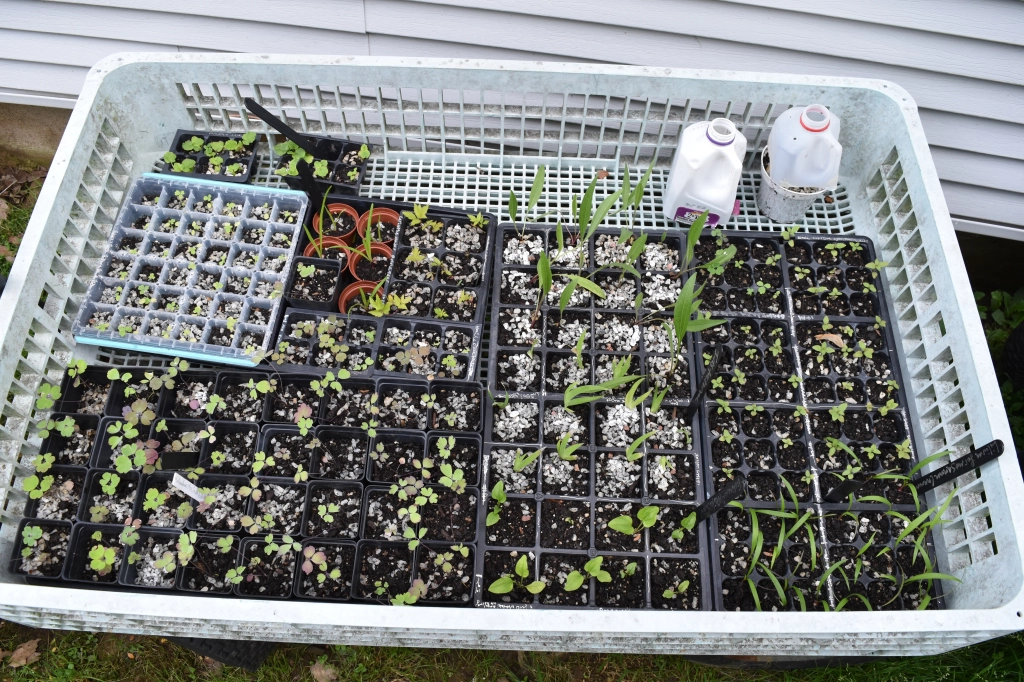
One of the easiest ways that I have found to move them in and out according to the weather is to put the trays of seedlings into a wheelbarrow or garden wagon, and move them in and out of a garage or shed. The seedlings gradually get stronger and after about a week can stay outside in a shady place until planting. With a smaller number of seedlings find a protected or covered area, or move them in and out daily.
Do not be tempted to plant the seedlings out too soon. You may get a nasty late frost that could kill your tender plants.
Phase 2 – Planting Seedlings Outside into Containers or Garden Beds
Here are 5 tips for making sure that your seedlings make the transition from inside to outside safely.
4 Tips For Planting Seedlings Outside
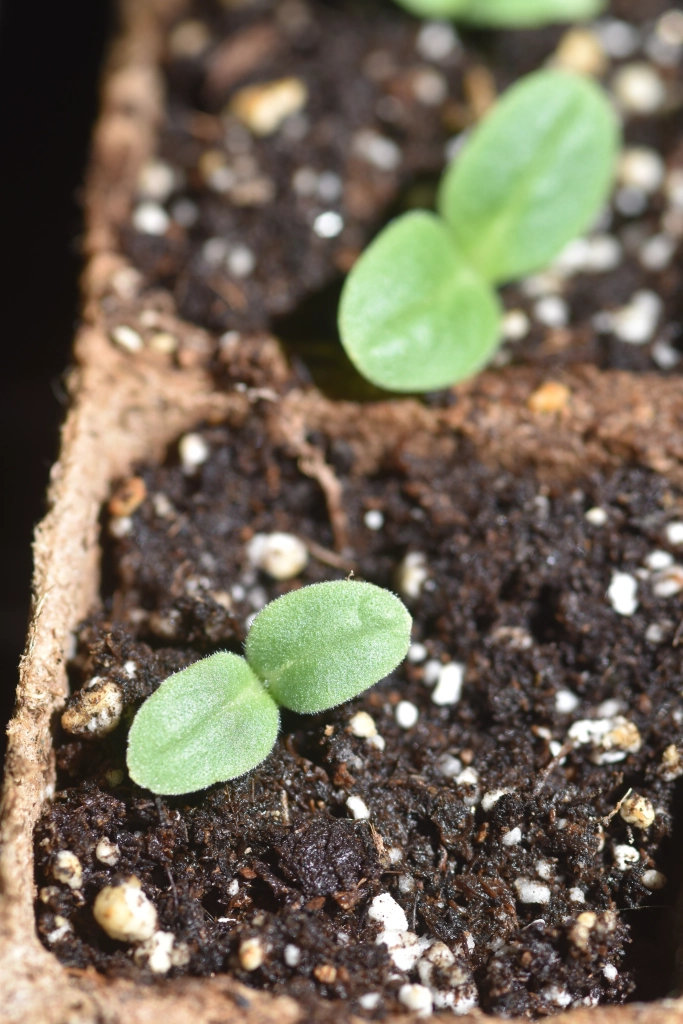
1. Sunscald
The light intensity in a garden bed or container on a deck or patio is much higher than even under lights inside. This can show up on a seedling as yellowed leaves.The solution is to shade the baby seedlings for a day or two. Find something to act as a parasol for the first few days. The old way was to put some newspaper over them. You could peg some over them with sticks, or make a hat-like structure. You could copy this idea or an upside down pot for the hours when the sun is hottest. After a few days of this, remove the protective cover altogether.
2. Drying out
Tiny seedlings desiccate extremely easily. Give your plants the best chance of success by adding plenty of organic matter to the soil. This increases the water holding capacity of the soil and allows the small roots to access it. When the plants begin to grow add more compost or leaf mold as a top dressing around the plants but keep it away from the young stems because you could smother the plant. I like to get compost in a bucket and sprinkle it around the bed. I make circles around each plant – but very lightly. You can always do this again in another month or so.
3. Root disturbance
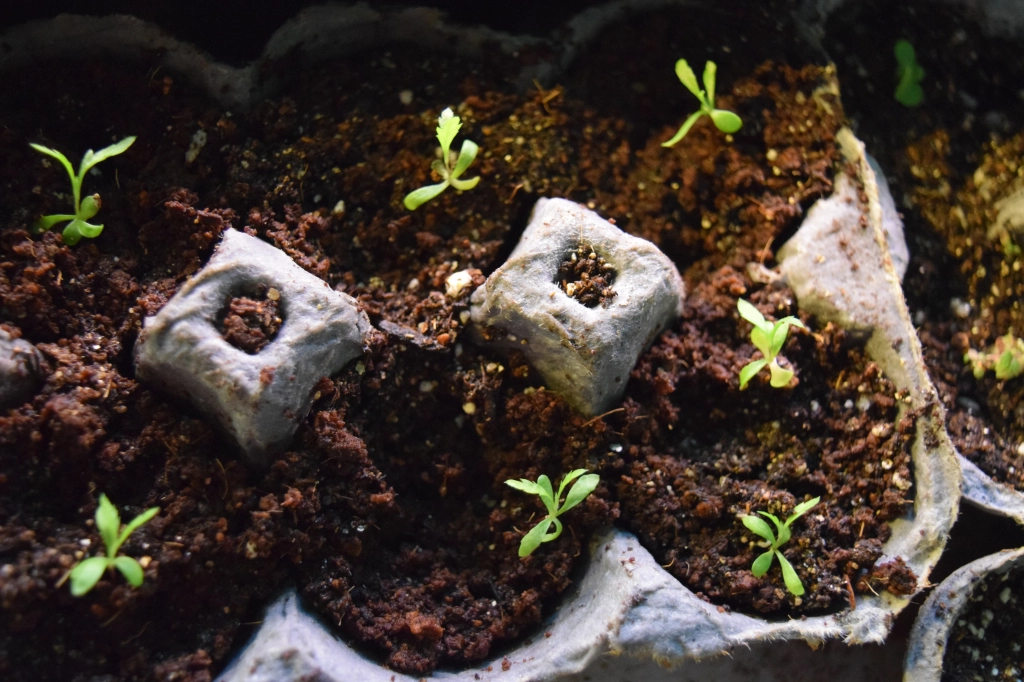
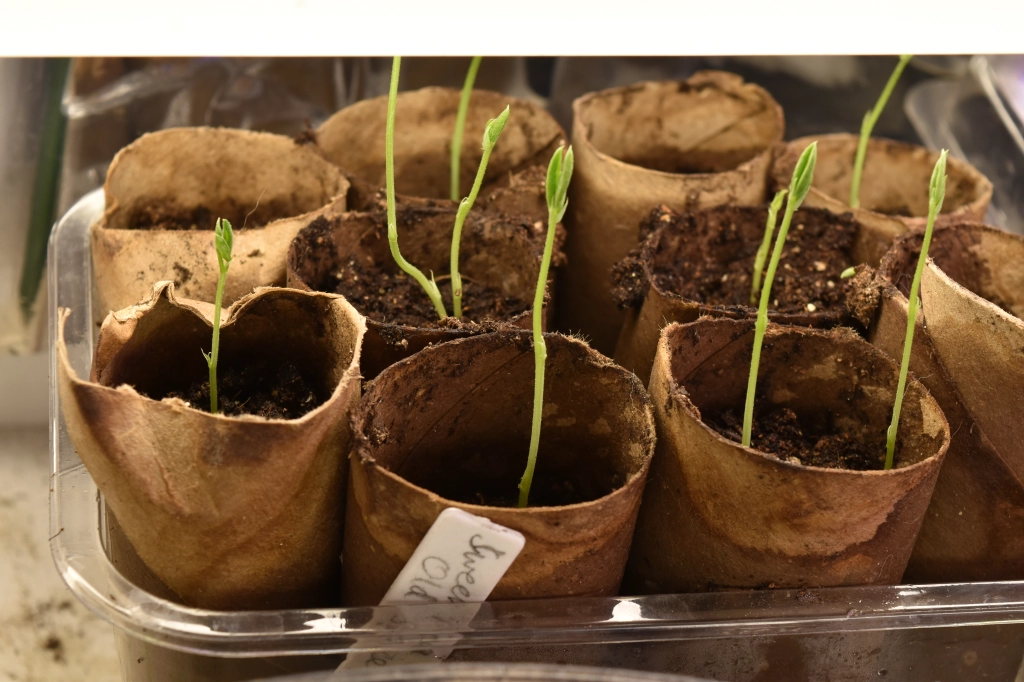
As you transfer your seedlings you are going to minimize root disturbance. That is one of the reasons that we have experimented with techniques to keep the tiny root ball intact. We re-use cardboard egg cartons, make soil blocks, and use fiber pots (not peat – due to environmental concerns). When planting in the soil I break apart the egg carton, and plant each section individually. This protects the roots and they grow through the cardboard.
4. Too densely planted
In our enthusiasm for planting seeds we often (speaking personally) put too many seeds in each planting pot. If all of the seeds germinate the resulting seedlings are competing for resources such as light, nutrients, and water.
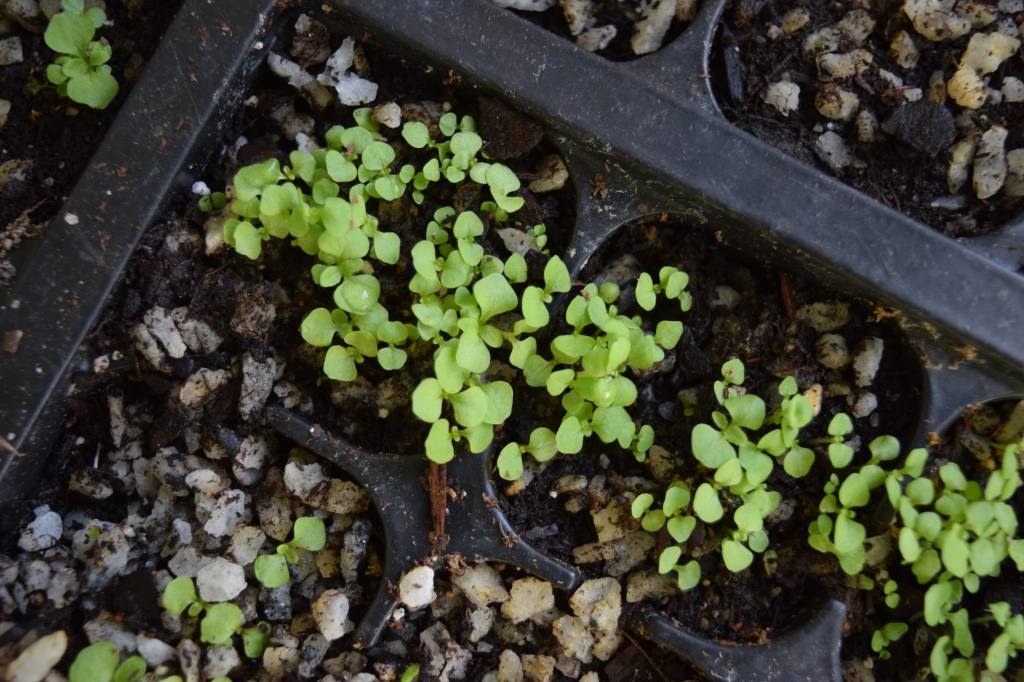
The hard-hearted way to solve this problem is to use nail scissors and clip off the ‘heads’ of many of the seedlings and leave one or two of the strongest seedlings. That sounds terrible to me and so I rarely do it, even though I know that I should. Instead I get the block of seedlings out of the pot and gently ‘tease’ them apart only holding the seedlings by the leaves and not the stem. The stem is very fragile at this stage in the seedling’s life. Replant them spaced out in a new larger container, or into the ground.
5. Eaten by Critters
Using the highly scientific term – critters – covers all the things that may eat your small plants once they are outside. There are many animals that inhabit our gardens. The small seedlings may not tempt them because they are so tiny. Things to watch out for are slugs and snails, rodents, birds, and larger mammals like rabbits and deer. They may eat the plants or run through the bed and disturb them. If you can fence in your planting bed, even with a low fence – I have found that that reduces some damage. I use finely crushed eggshells around particularly tender plants to deter slugs and snails.

Bye for now Gardening Friends. Enjoy your planting. Jenny Rose Carey


Leave a Reply